
Table of Contents
EayTools PDF Converter is a powerful and versatile desktop application designed to convert PDF files into various popular formats. Built on .NET Framework 4.8 with DevExpress UI components, it provides an intuitive and professional user experience.
For more information, visit: https://www.eaytools.com
Key Features
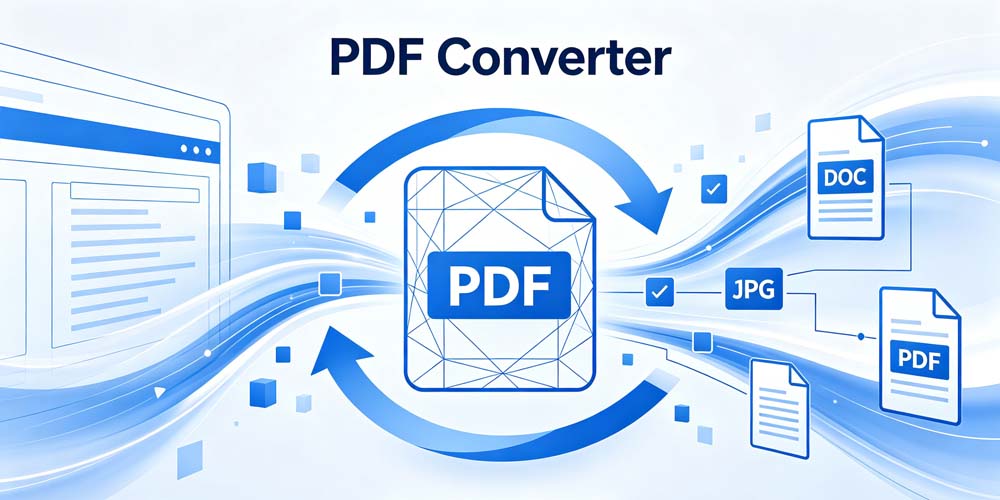
- Multiple Output Formats: Convert PDFs to DOCX, DOC, HTML, TXT, RTF, PDF, JPG, PNG, BMP, GIF, TIFF, EML, MSG, PST, XPS, OXPS, MHT, EMF, and EPUB formats.
- Batch Conversion: Convert multiple PDF files simultaneously with just a few clicks.
- Folder Processing: Add all PDF files from a folder at once, including subfolders.
- Image Quality Control: Adjust image resolution (72-600 DPI) and quality (10-100%) for image-based conversions.
- Multi-Language Interface: Supports English, Chinese, German, French, Spanish, and Russian.
- 7-Day Free Trial: Try all premium features for 7 days before purchasing.
- Microsoft Store Integration: Secure purchase and license management through Microsoft Store.
Getting Started
System Requirements
| Component | Requirement |
|---|---|
| Operating System | Windows 10 version 1809 or later |
| RAM | Minimum 4 GB (8 GB recommended) |
| Disk Space | 500 MB for installation, additional space for converted files |
| Display | 1280×720 resolution or higher |
Installation
- Download the application from Microsoft Store or our official website at https://www.eaytools.com.
- Install by double-clicking the installer and following the on-screen instructions.
- Launch the application from the Start Menu or Desktop shortcut.
First Launch
Upon first launch, the application will:
- Display a splash screen while initializing
- Load your saved language preferences
- Display the main conversion interface
- Initialize the license system (7-day trial starts automatically)
Adding PDF Files
Adding Individual Files
- Click Add Files button (or press
Ctrl+O) - Browse to the folder containing PDF files
- Select one or more PDF files (use
Ctrl+Clickfor multiple selection) - Click Open
- Selected files appear in the file grid with their details
Adding Files from Folder
- Click Add Folder button (or press
Ctrl+Shift+O) - Select the folder containing PDF files
- The application will scan all subfolders for PDF files
- Click OK to add all discovered files
- A confirmation message shows the number of files added
Adding Files via Drag and Drop
- Select PDF files in Windows Explorer
- Drag them onto the application window
- Drop when the file grid is highlighted
- Files are added to the list automatically
Managing Files
Selecting Files
- Single Selection: Click on a row to select
- Multiple Selection: Hold
Ctrland click to select multiple files - Range Selection: Hold
Shiftand click to select a range - Select All: Press
Ctrl+Ato select all files - Checkboxes: Use the checkboxes in the first column for quick selection
Removing Files
- Select the files you want to remove
- Click Remove button (or press
Delete) - Selected files are removed from the list
Clearing All Files
- Click Clear button (or press
Ctrl+Shift+Delete) - Confirm the action when prompted
- All files are removed from the list
File Information
Each file in the grid displays:
| Column | Description |
|---|---|
| Selected | Checkbox for selection status |
| File Name | Name of the PDF file |
| Location | Full path to the file |
| Size | File size (auto-formatted: KB, MB, GB) |
| Pages | Number of pages in the PDF |
| Status | Conversion status (Pending, Converting, Completed, Error) |
Conversion Settings
Accessing Settings
Click the Settings button or press Ctrl+, to open the Settings dialog.
Output Format Selection
Choose from 19 supported output formats:
| Category | Formats |
|---|---|
| Document Formats | DOCX, DOC, RTF, TXT |
| Web Formats | HTML, MHT |
| Image Formats | JPG, PNG, BMP, GIF, TIFF, EMF |
| Email Formats | EML, MSG, PST |
| Other Formats | PDF, XPS, OXPS, EPUB |
Image Settings (for image conversions)
| Setting | Description | Range |
|---|---|---|
| Quality | JPEG compression quality | 10-100% |
| Resolution | Output image DPI | 72-600 DPI |
Recommended Settings:
- Web/Email: 72-150 DPI, 60-80% quality
- Printing: 300 DPI, 90-100% quality
- Archival: 300-600 DPI, 100% quality
Output Location
| Option | Description |
|---|---|
| Save to Desktop | All converted files go to Desktop (default) |
| Save to Source Folder | Converted files saved in the same folder as source PDF |
| Custom Location | Choose a specific output folder |
Converting PDF Files
Starting Conversion
- Add Files: Add one or more PDF files to the list
- Select Format: Choose the desired output format from the dropdown
- Configure Settings: Adjust image quality and resolution if needed
- Click Convert: Press the Convert button or
F5
Conversion Results
Upon completion:
- All Successful: “Conversion completed successfully! X files converted.”
- Partial Success: “Conversion completed. X files converted, Y files failed.”
- All Failed: “Conversion failed. Please check the log for details.”
Converted files are saved in the configured output location.
Licensing and Activation
Trial Period
- Duration: 7 days from first launch
- Features: All premium features are available during trial
- Limitations: None – full functionality
- Expiration Warning: Notification appears when 3 or fewer days remain
Purchasing Full Version
- Click Purchase button (or “Register” button when expired)
- Review the purchase information
- Confirm purchase through Microsoft Store
- Receipt is automatically processed
- Full version is activated immediately
Offline Trial (Backup)
If Microsoft Store is unavailable:
- The application uses a local trial mechanism
- Tracks first launch date locally
- Maintains 7-day trial functionality
- Ensures uninterrupted trial experience
Multi-Language Support
Supported Languages
| Language | Code | Native Name |
|---|---|---|
| English | en-US | English |
| Chinese (Simplified) | zh-CN | 简体中文 |
| German | de-DE | Deutsch |
| French | fr-FR | Français |
| Spanish | es-ES | Español |
| Russian | ru-RU | Русский |
Changing Language
- Open Settings dialog
- Locate the Language dropdown
- Select your preferred language
- Click OK to apply
- The interface immediately updates to the selected language
Language Detection
On first launch, the application:
- Checks for saved language preference
- If none found, uses Windows system language
- Falls back to English if system language is unsupported
- Automatically applies the detected language
Getting Help
For additional support:
- Click Help button for in-application guidance
- Check Microsoft Store for app updates
- Visit our website at https://www.eaytools.com for documentation and support
Keyboard Shortcuts
File Operations
| Shortcut | Action |
|---|---|
Ctrl+O | Add Files |
Ctrl+Shift+O | Add Folder |
Delete | Remove Selected |
Ctrl+A | Select All |
Ctrl+Shift+Delete | Clear All |
Navigation
| Shortcut | Action |
|---|---|
F5 | Start Conversion |
Ctrl+, | Open Settings |
F1 | Show Help |
Application
| Shortcut | Action |
|---|---|
Alt+F4 | Exit Application |
Ctrl+Q | Purchase/Register |
Appendix
Supported Input Formats
| Format | Extension | Support Level |
|---|---|---|
| Full Support |
Supported Output Formats
| Format | Extension | Typical Use Case |
|---|---|---|
| DOCX | .docx | Microsoft Word editing |
| DOC | .doc | Legacy Word compatibility |
| HTML | .html/.htm | Web publishing |
| TXT | .txt | Plain text extraction |
| RTF | .rtf | Rich text documents |
| JPG | .jpg | Image export |
| PNG | .png | Lossless image export |
| BMP | .bmp | Uncompressed images |
| GIF | .gif | Animated/simple graphics |
| TIFF | .tiff | High-quality printing |
| EML | .eml | Email messages |
| MSG | .msg | Outlook messages |
| PST | .pst | Outlook data files |
| XPS | .xps | Windows document format |
| OXPS | .oxps | Open XPS format |
| MHT | .mht | Web archive |
| EMF | .emf | Vector graphics |
| EPUB | .epub | E-books |
| Document archive |
Contact & Support
Website: https://www.eaytools.com
For technical support, product inquiries, or feedback, please visit our website.